Close
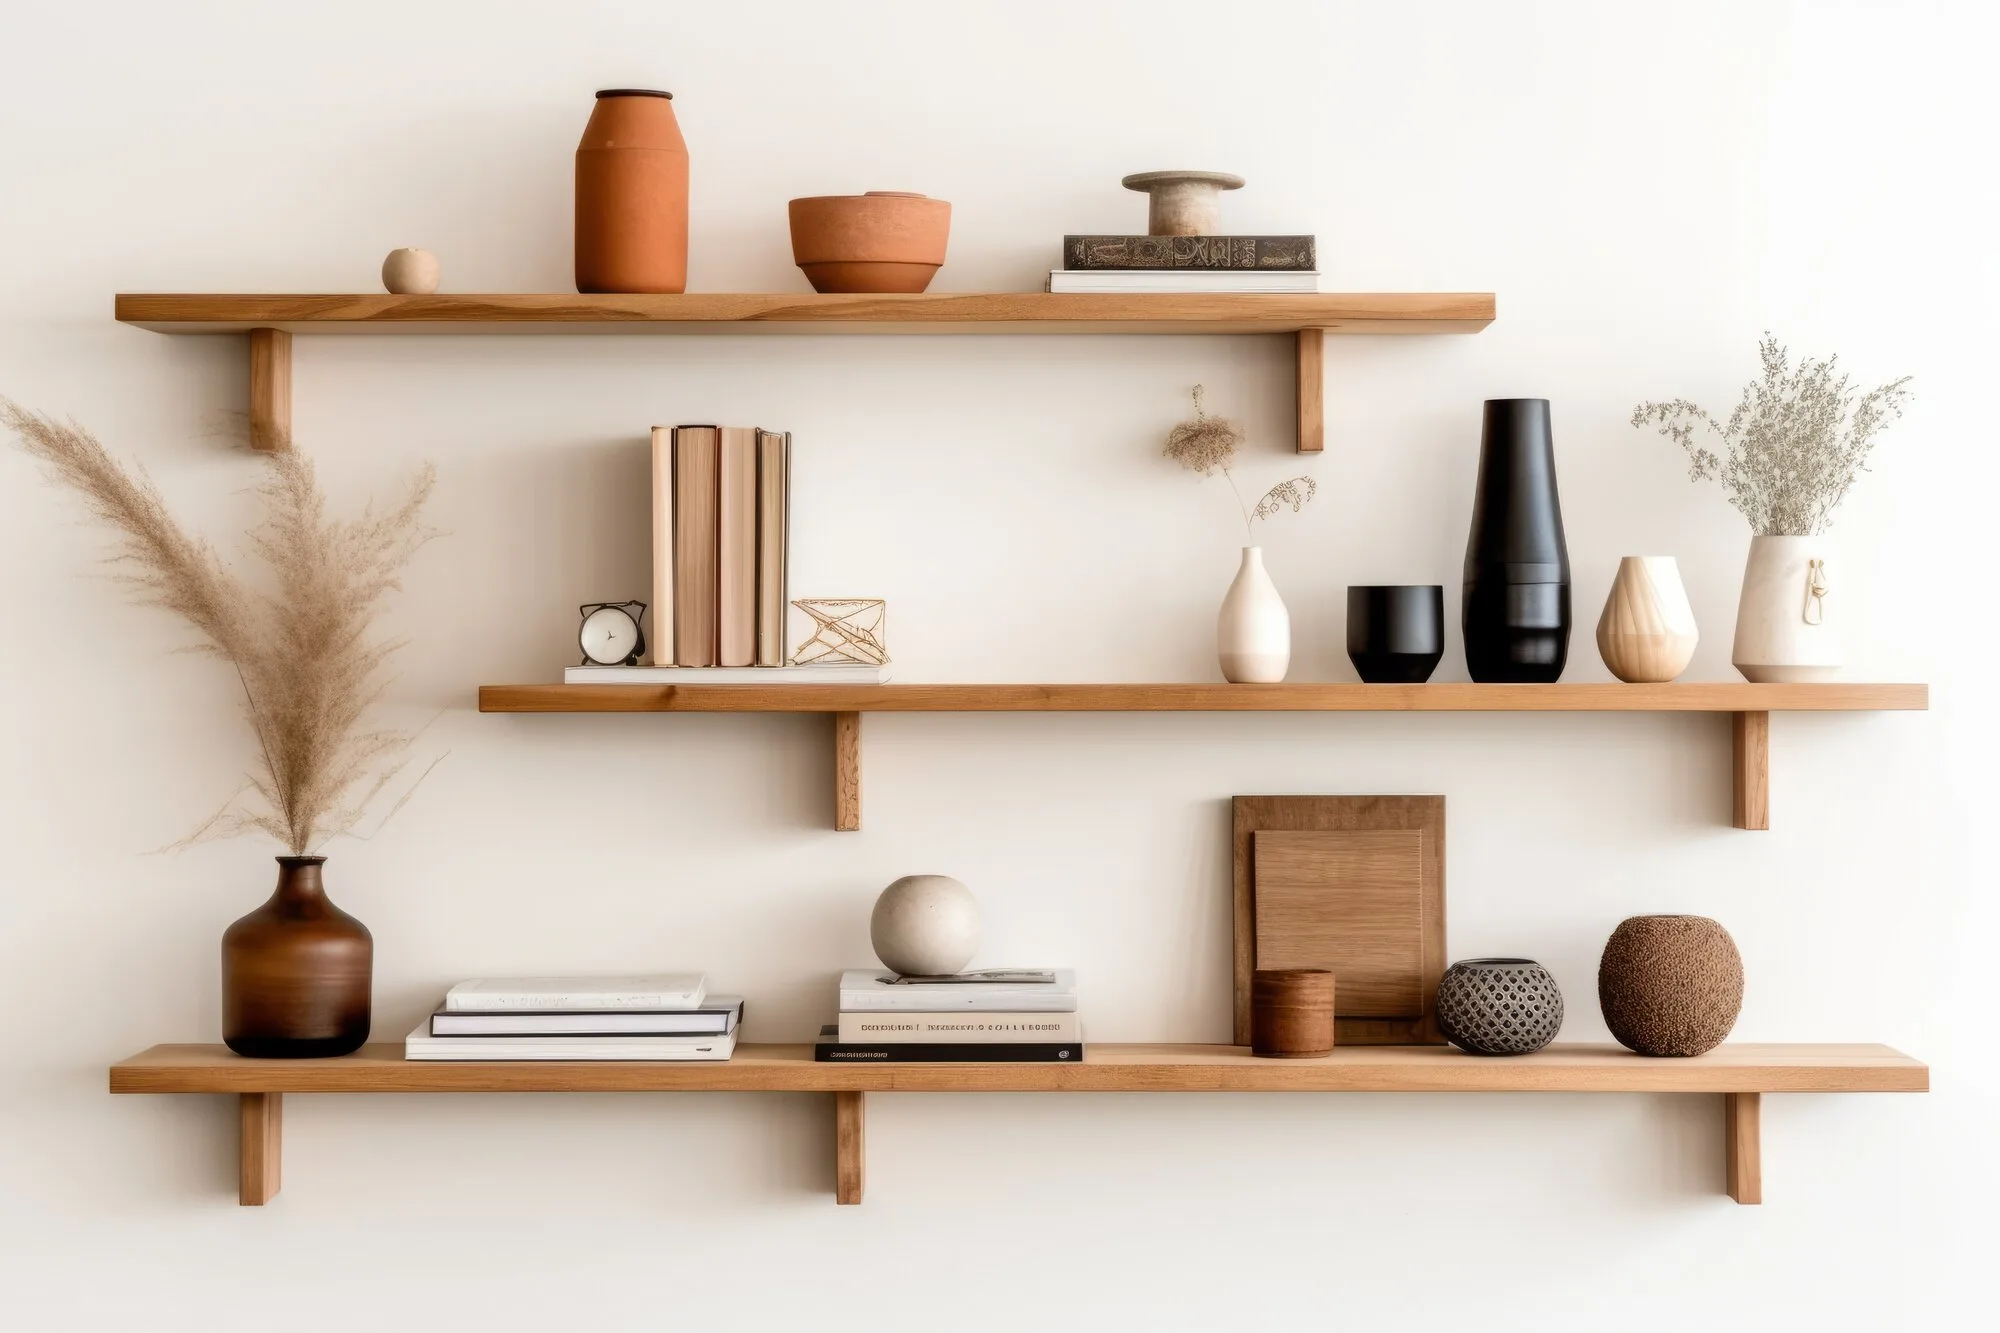
Gather Tools Needed for Shelf Installation
Determine Your Wall Type
Measure Twice, Drill Once
Update
Category
Faves
Home
Cart
Account
Living Room
Bedroom
Kitchen & Dining
Home Office
Mattresses
Outdoor & Patio
Baby & Kids
Rugs
Lighting
Home Decor
Sale
Sofas & Sectionals
All Sofas & Sectionals
Sofas & Couches
Sectionals
Loveseats
Sleeper Sofas
Chaises & Settees
Chairs & Benches
Accent Chairs
Recliners
Ottomans & Poufs
Accent Benches
Entryway Benches
Tables & Storage
TV Stands & Entertainment Centers
Coffee Tables
End & Side Tables
Console & Sofa Tables
Living Room Table Sets
Bookcases & Shelves
Living Room Sets
Living Room Furniture Sets
Fireplaces
Fireplaces
Bedroom Sets
Bedroom Furniture Sets
Beds
All Beds
Shop by Size
King
Queen
Full
Twin
Shop by Type
Upholstered
Platform
Storage
Headboards
Headboards
Bedroom Storage
Dressers
Nightstands
Armoires & Chests
Makeup Vanities
Storage Benches
Mattresses & Box Springs
Mattresses
Box Springs & Foundations
Bathroom Vanities
Bathroom Vanities
Bedding
All Bedding
Comforters & Quilts
Duvet Covers
Sheets & Pillowcases
Blankets & Throws
Bed Pillows
Mattress Pads & Toppers
Mattress Covers & Protectors
Dining Tables & Seating
Dining Room Furniture Sets
Dining Tables
Dining Chairs
Dining Benches
Barstools
Kitchen & Dining Storage
Bars & Bar Carts
Sideboards, Buffets & Cabinets
Kitchen Islands & Carts
Office Furniture
Desks
Desk Chairs
Bookcases & Shelves
Filing & Office Cabinets
Office Furniture Sets
Office Decor
Desk Lamps
Shelving
Organization
All Mattresses
Mattresses
Shop by Size
King
Queen
Full
Twin XL
Twin
Shop by Type
Innerspring
Hybrid
Foam & Memory Foam
Pillow Top
Mattress in a Box
Shop by Comfort
Extra Firm
Firm
Medium
Plush
Extra Plush
Shop by Brand
Beautyrest
Sealy
Serta
Tempur-Pedic
Purple
Bedgear
Casper
Avocado
Bear
Foundations
Box Springs & Foundations
Adjustable Beds & Bases
Bedframes
Bedding Essentials
Mattress Covers & Protectors
Mattress Pads & Toppers
Bed Pillows
Sheets & Pillowcases
Outdoor Lounge
Outdoor Seating Sets
Outdoor Chairs
Outdoor Sofas
Outdoor Sectionals
Outdoor Chaises & Lounges
Outdoor Loveseats
Outdoor Daybeds
Outdoor Fire Pit Seating Sets
Outdoor Coffee Tables
Outdoor End Tables & Side Tables
Outdoor Ottomans & Poufs
Outdoor Dining
Outdoor Dining Sets
Outdoor Dining Tables
Outdoor Dining Chairs
Outdoor Accessories
Outdoor Pillows
Patio Umbrellas
Outdoor Accessories
Fire Pits & Heaters
Artificial Plants
Outdoor Wall Decor
Outdoor Rugs
Outdoor Rugs
Outdoor Lighting
Outdoor Lighting
Kids Bedroom Furniture
Kids Beds
Toddler Beds
Kids Bedroom Sets
Kids Headboards
Kids Dressers
Kids Chests
Kids Nightstands
Kids Study & Playroom
Kids Accent Chairs & Beanbags
Kids Desks
Kids Desk Chairs
Kids Bookcases
Kids Tables & Table Sets
Nursery
Cribs
Crib Mattresses
Nursery Chairs
Changing Tables
Crib Bedding
Baby & Kids Decor
Kids Bedding
Kids Rugs
Kids Lighting
Kids Ottomans & Poufs
Decorative Accents
Area Rugs
Shop by Size
3' x 5'
4' x 6'
5' x 8'
6' x 9'
8' x 10'
9' x 12'
10' x 14'
12' x 15' & Up
Shop by Color
Beige & Cream
Blue
Gray
Green
Multi
Brown
Black
Shop by Style
Modern
Contemporary
Traditional
Mid-Century Modern
Transitional
Runners
Round Rugs
Outdoor Rugs
Kids Rugs
Doormats
Rug Pads
Lamps
All Lamps
Table Lamps
Floor Lamps
Desk Lamps
Lamp Sets
Lamp Shades
Ceiling Lighting
All Ceiling Lights
Chandeliers
Pendant Lights
Flush Mount Lights
Ceiling Fans
Wall Lighting
All Wall Lights
Sconces
Vanity Lights
Picture Lights
Outdoor Lighting
Outdoor Lighting
Kids Lighting
Kids Lighting
Wall Decor
All Wall Decor
Wall Art
Decorative Mirrors
Wall Sculptures
Wallpaper
Wall Clocks
Decorative Accents
Decorative Accents
Pillows, Throws & Poufs
Decorative Pillows
Blankets & Throws
Poufs
Fireplaces
Fireplaces
Bedding
All Bedding
Comforters & Quilts
Duvet Covers
Sheets & Pillowcases
Blankets & Throws
Mattress Covers & Protectors
Mattress Pads & Toppers
Bed Pillows
Artificial Plants
Artificial Plants
Home Organization
Organization
Storage Bins
Shelving
Sale Living Room
Sofas & Sectionals
Accent Chairs
Recliners
Living Room Furniture Sets
Coffee Tables
Console & Sofa Tables
End & Side Tables
TV Stands & Entertainment Centers
Fireplaces
Sale Bedroom
Bedroom Furniture Sets
Beds & Headboards
Dressers
Armoires & Chests
Nightstands
Mattresses
Box Springs & Foundations
Sale Bathroom Vanities
Sale Home Office
Desks
Desk Chairs
Bookcases & Shelves
Filing & Office Cabinets
Sale Dining Room
Dining Room Furniture Sets
Dining Tables
Dining Chairs
Dining Benches
Sideboards, Buffets & Cabinets
Barstools
Kitchen Islands & Carts
Bars & Bar Carts
Sale Home Decor
Rugs
Lighting
Ottomans & Poufs
Wall Decor
Decorative Accents
Bedding
Decorative Pillows
Decorative Mirrors
Artificial Plants
Sale Baby & kids
Kids Rugs
Kids Lighting
Decorative Accents
Kids Bedding
Sale Outdoor Furniture
Outdoor Seating Sets
Outdoor Dining Sets
Outdoor Sofas
Outdoor Sectionals
Outdoor Chairs
Outdoor Chaises & Lounges
Outdoor Dining Chairs
Outdoor Dining Tables
Outdoor Coffee Tables
Outdoor End Tables & Side Tables
Sale Outdoor Decor
Outdoor Rugs
Outdoor Lighting
Outdoor Accessories
Patio Umbrellas
Fire Pits & Heaters
Outdoor Pillows
Outdoor Cushions
Outdoor Wall Decor
Living Room
Bedroom
Kitchen & Dining
Home Office
Mattresses
Outdoor & Patio
Baby & Kids
Rugs
Lighting
Home Decor
Sale
Company
About Us
Contact Us
Careers
Press Page
FDC.AI
Resources
Brands
Store Directory
Support
For Retailers
Join Our Site
Follow Us
Instagram
Facebook
Pinterest
LinkedIn
Privacy Notice
Terms of Use
© 2026 furniture.com. All rights reserved