


Your new is just around the corner
Sign up for insight into the latest design trends from our newsletter
You're on the list
By signing up, you agree to receive email marketing.

A mirror is typically a decorative and functional piece in your home. Deciding the style, shape, and size of the mirror is essential so you get the right placement to fit with your design ethos. Once you’re ready to place it on the wall, follow some tips for a safe and effective installation, especially if you are hanging a heavy mirror.
There are a few things to keep in mind before you pick up your tools and get to work. Check these items off your list before placing your mirror.
Decide where your mirror is going to be. That might involve looking closely at your furniture to determine what location is the best fit. Also critical is whether your wall mirror is decorative or functional. If you want to use the mirror for daily grooming, for example, you might want to place it above the bathroom sink.
The size is typically a function of the placement. Mirrors should be the same width, or at least two-thirds of the width, of the furniture directly below it. For bathroom mirrors, try for about 6 inches narrower than a single sink or vanity, or the same size as the sink in a double vanity.
If you’re creating a mirror wall, this stage is particularly important. A mirror wall has to fit with your other decor, but it also has to be cohesive in and of itself. A typical mirror wall has pieces of various shapes and sizes that roughly fit together like a jigsaw puzzle. Sketching out the placement of the mirrors or laying them on the floor first can help you visualize the arrangement. If you’re hanging a single mirror, a sketch can also help you to see the right angle or orientation of the mirror.
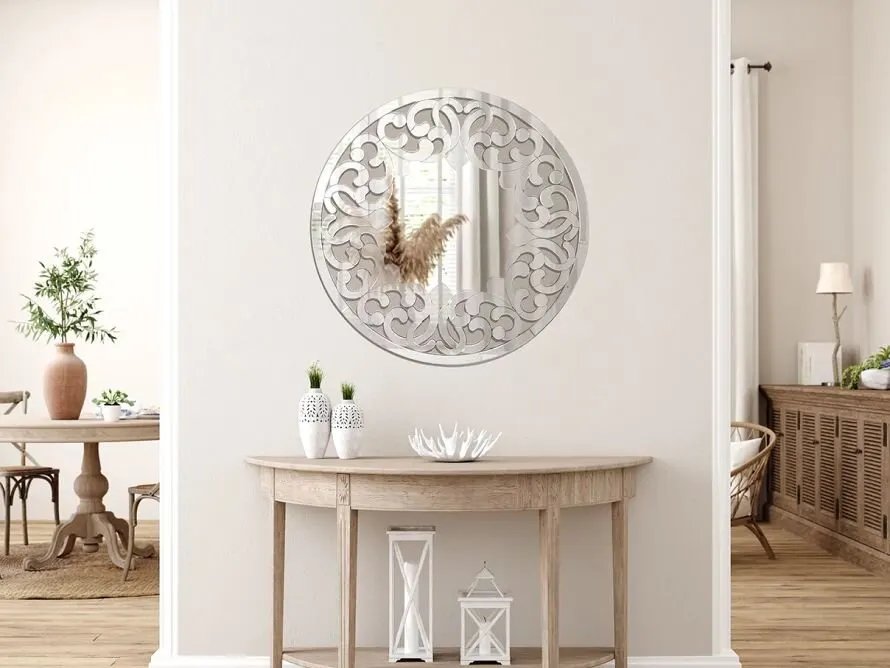
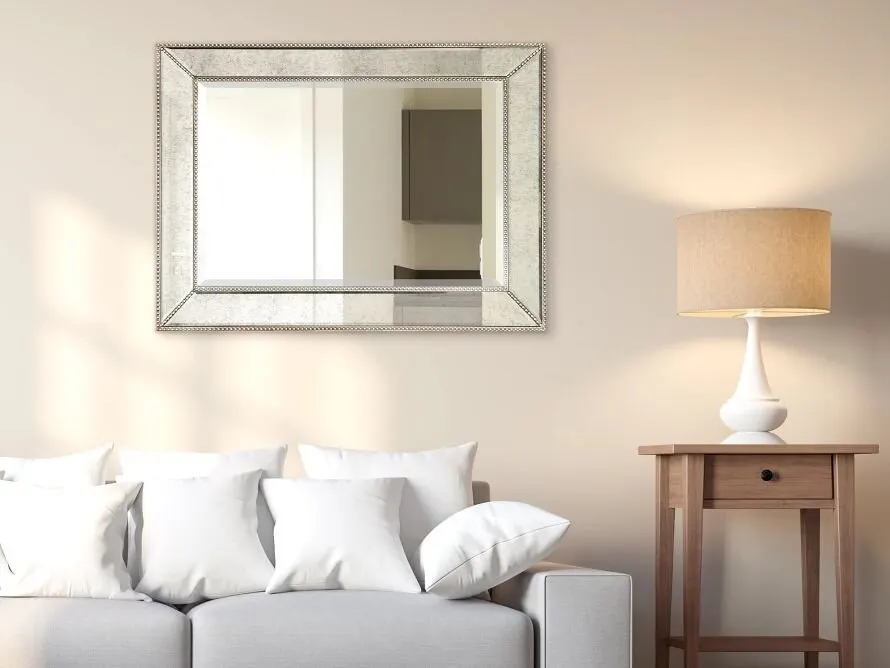
Your style of mirror should reflect the style of the room. Is it modern, contemporary, traditional, retro, or eclectic? Whatever your preference in the room, you should find a mirror that goes with this design ethos. Of course, if your design ethos is to mix things up and avoid the rules, there’s nothing wrong with putting an antique mirror into your fully modern space.
You’ve got your typical round and square mirrors, but the options don’t stop there. Mirrors come in a variety of geometric shapes and sizes. Remember a wide mirror will emphasize the length of the room while a narrow mirror will emphasize the room’s height. Play with these shapes and sizes to find the right effect you want to have.
It’s important to hang your mirror securely, to avoid it falling off the wall. Here we’ll discuss how to hang a heavy mirror using screws and hanging wire or by using metal cleats.
To hang a mirror on a wall you’ll need:
Stud finder (for steel hanging wire only)
Pencil
Drill
Drill bit set
Laser level
Tape measure
Screws
Stainless steel hanging wire or metal hanging cleats
Drywall anchor (optional)
Of course, you’ll also need your mirror.
If you’re hanging a mirror using steel hanging wire, you can start at step 1. If you’re using metal hanging cleats, skip ahead to step 3. With metal cleats, there’s no need to find a stud position.
Use the stud finder to find studs in the wall where you want to place the mirror. You should find studs 16 to 24 inches apart. Use the pencil to mark the positions of the studs.
Using your pencil mark, make a vertical (up and down) score on the wall. This is the position of the left screw if you are using the hanging wire method. Note that the top of the mirror will rest about 2 to 4 inches higher than this mark.
Using the level, cast a line across to the other stud position. This helps to guarantee that when you drill in your screws, they are level on the wall and your mirror isn’t hanging crooked.
If you’re using metal hanging cleats, you also use the level at this point. The objective of this method is to draw a level line where you want the cleat to hang. First, use the stud finder to identify a stud location and mark them. Then draw a line using the level.
If you are using the hanging wire method, use the drill to drive a screw into each stud on the wall. These should be the same location as you identified before using the stud finder and level.
For the metal cleat method, first determine whether a single cleat is long enough to go from one stud to another. If it is, screw the cleat to the wall at the location of the studs. If it is not long enough, use a separate metal cleat on each stud. Attach each metal cleat to the wall using a screw in the center hole to the stud. Then secure each end of each cleat with a drywall anchor.
String the stainless steel hanging wire to screws at the back of the mirror. Each end of the wire should be securely attached to these screws, so if hung by the wire alone, the wire can support the mirror’s weight.
For metal cleats, use the drill to screw the other metal cleat to the back of the mirror. The cleat should be long enough to go across the entire width of the mirror.
Hang the mirror. Slide the wire over the screws with the wire hanging method, or the mirror’s cleat over the wall cleats.
It’s always good to carefully assess how to hang a heavy mirror before going about the process in order to ensure safety and proper placement. When finished, a mirror can be a stunning part of your home decor.
You're on the list
By signing up, you agree to receive email marketing.